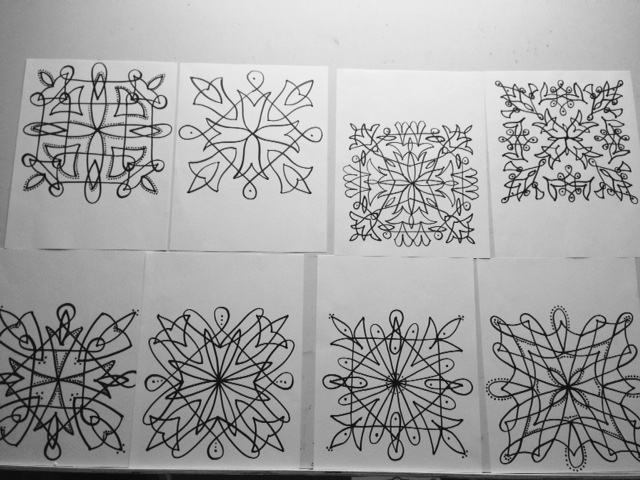
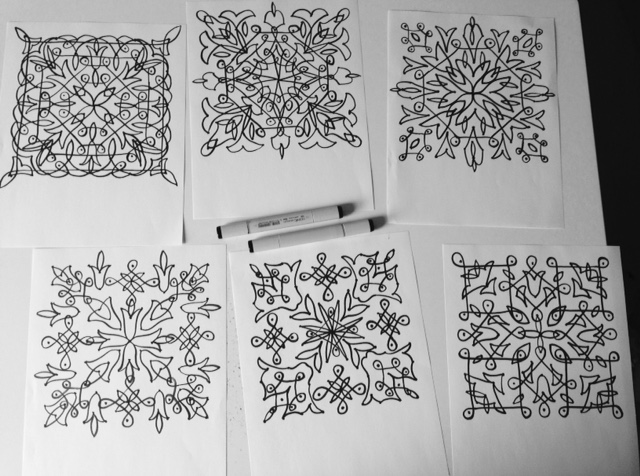
Brainstorm, brainstorm, brainstorm! Play, play, play! Ideas, ideas, ideas!

These three core creative values pretty much sum up the heart of my creative process. They also sum up Picture Book Author Tara Lazar’s annual Storystorm Challenge, which I’ve participated in for many years.

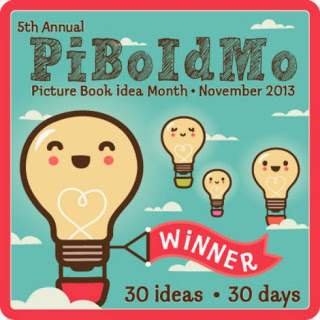
The Storystorm challenge (used to be called PIBOIDMO—picture book idea month) is a challenge on Tara’s blog where participants agree to come up with a new picture book idea every day for 30 days in a month. 30 ideas! In a month! Seems crazy at first. But no. It’s great.
Because where do I get my best ideas? Out of a pile of terrible ideas. It’s true. Basically I get my best ideas by coming up with lots and lots of ideas, putting every idea into the pile, and then later worrying about whether they are any good or not. And that same basic concept has now extended into so many aspects of my creative process that I feel it somehow captures the entire spirit of writing and art for me.

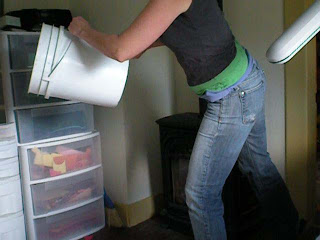
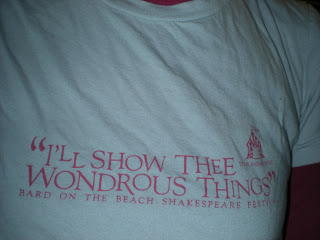
My Bureau of Fearless Ideas shirt and my Field Guide To Fearless Ideas poster, both purchased at the Greenwood Space Travel Supply Company in Seattle, a storefront for the Bureau of Fearless Ideas, a non-profit writing and tutoring center for kids.
So in the spirit of fearless ideas, here I am this past week wearing my Bureau Of Fearless Ideas shirt next to my Field Guide To Fearless Ideas poster, (purchased here, more info in the caption). And why am I wearing my BFI* shirt? Because STORYSTORM = FEARLESS IDEAS! And it’s that time of year. I’ve just finished up 2019’s challenge and I’m celebrating all the ways ideas, brainstorming, and play make my art better.
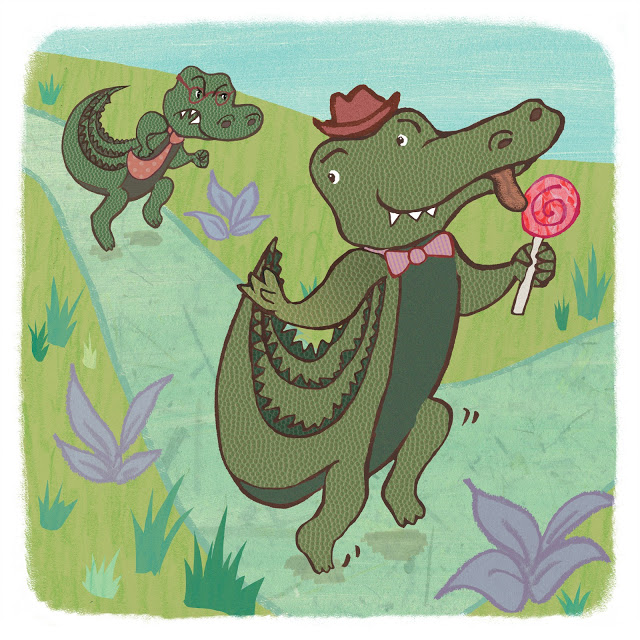
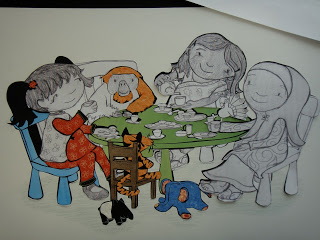
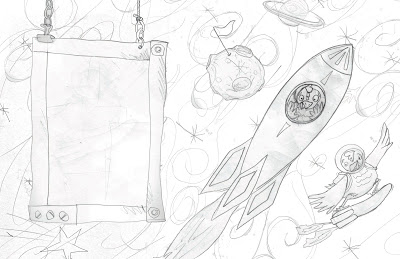
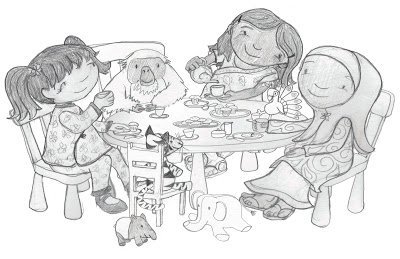
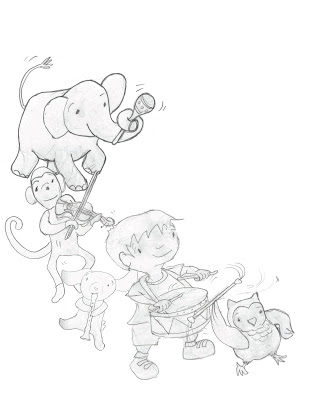
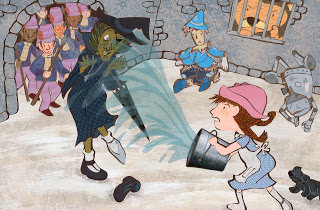
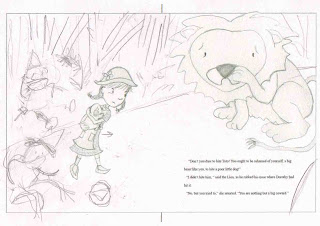
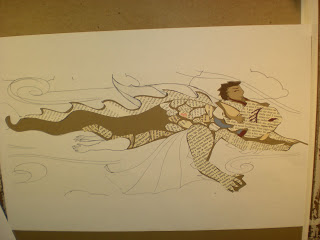
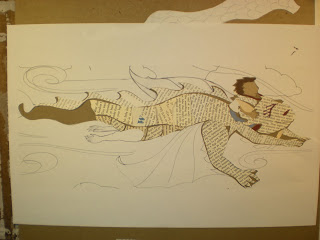
This past year I signed a contract for my first PB after working at it a looooong time. And THE ELEPHANT HIDE-AND-SEEK HANDBOOK (scheduled for release from Sourcebooks Jabberwocky in 2020) was definitely born from this process.
So cheers to fearless ideas and fearless brainstorming! And a big shout-out and thank you to Tara for all she’s done for the writing and illustrating community over many years!
THANK YOU TARA!

The bumper sticker on my car. Bought it at Wild Play zipline course on Vancouver Island, BC. Pertains to art and writing too.
*BFI = Bureau of Fearless Ideas, a real place. It’s a tutoring center for kids. But they also have cool shirts and posters. And in Seattle they have a Space Travel Supply Company. So that’s awesome.